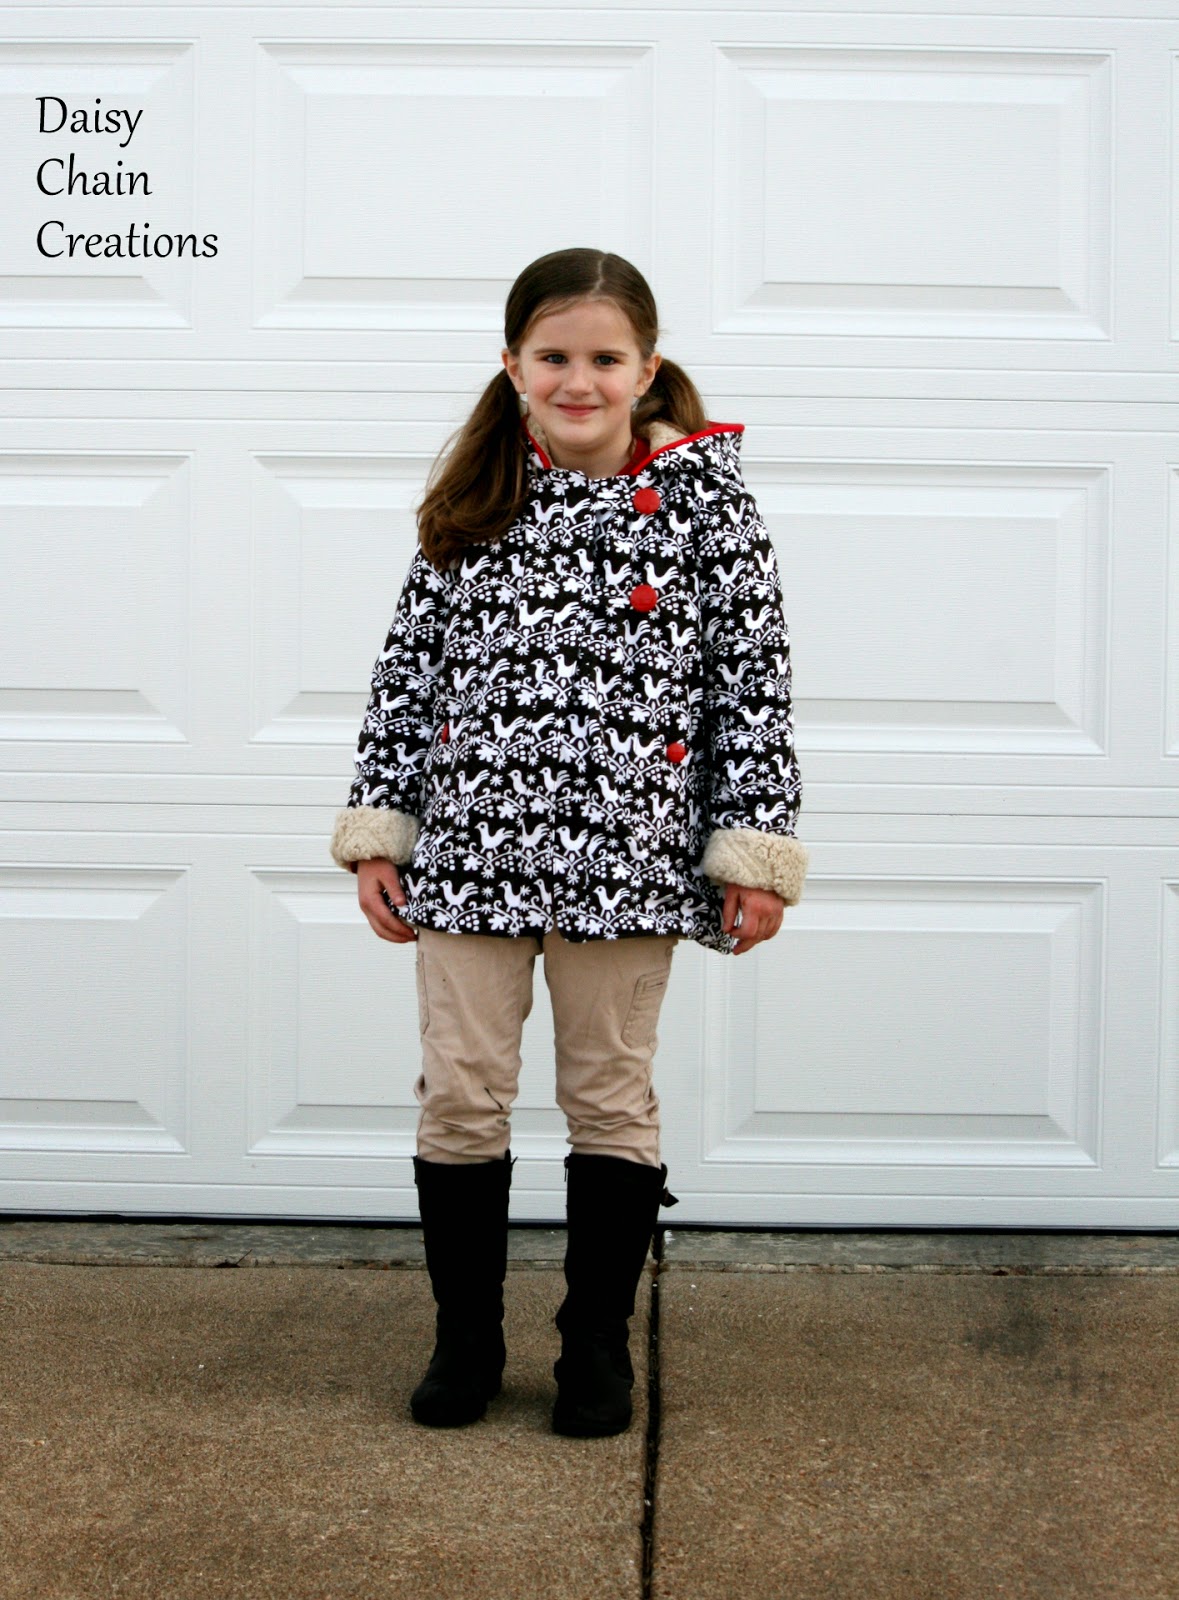
Monday, May 20, 2013

Whimsical Tunic Embellishments

Today I'm sharing how to do the side ruching on this whimsical tunic over at Project Run and Play.  But I also wanted to share how I did the exposed yolk and sleeve tabs.
Like I said in my post over at PR&P, we're thinking ahead for some fun pieces to add to Clara's kindergarten wardrobe.  She really liked this fun owl print and the green polka dot went perfectly with it.  But why hide it on the inside?
 To create the yolk, use your back and front pieces to make a pattern.  Since I was creating the tunic without a pattern, I decided to have a little fun with the opening.  I decided to do the scallops to mimic the dots.  You can do something simple like I did for the first tunic I made.
Here you can see how I created the neck line on the front piece of the bodice. 
 Then I cut it out.
 For the yolk piece, I simply used the bodice pieces as the pattern. Done before you sew the shoulder seams of the bodice together.
 Next decide on the width of the yolk, making sure you match the front and the back pieces when it comes to how wide you'll be making it.

 Here's the 2 yolk pieces laid out on the corresponding bodice pieces.
For the next step you want to sew up the bodice pieces and then the yolk pieces at the shoulder seams, making sure to use the exact same seam allowance on both sets.
Now to attach the yolk to the bodice, you sew with the right side of the yolk to the wrong side of the bodice.  Very important, because you'll be flipping it out to the right side of the bodice.  After you've sewn them together, snip the seam allowance.  Since I had curves on this one, I notched it pretty good.
Once you've flipped the right side out, press and edge stitch around the neck opening only.
The next step is kind of tricky and takes a little patience.  You need to fold under and press the outside edge of the yolk.  Once you've pressed it, pin it really well.
Edge stitch around the outside edge and you are done with the yolk.  It's fun to have a little contrast!
Silly wide eyed girl.
View of the front and back yolk.
 As for the sleeve tabs, this is a pretty easy embellishment.
When you fold under the hem for the sleeves, just slide a tab into  the hem before you stitch it up.  Then fold it up and add the button.  Another simple thing to do to add a little contrast.
 One final picture of this silly girl.  She was making wide eyes this whole little photo shoot. 


Sunday, May 19, 2013

Birthday Bag--A Little Early

And a bonus rose--taken right after an afternoon shower.
This bag was made for my wonderful sister-in-law and friend for her birthday.  It's a little early but I wanted to get it done before school got out.  There's just one thing left on my list to do before the kids are home and life gets summer busy.
 Just a simple pattern-only 4 pieces plus the pocket-lined and reinforced with duck cloth on the inside. The fabric is from the Waverly home dec line at JoAnn's.

Friday, May 17, 2013

What I Now Have Off My Plate

9 quilts are now off my to-do list (2 aren't shown).  I was in charge of making sure these 9 beauties were finished in time for the 9 graduating seniors in our church congregation.  The parents provide the 2 twin sheets, another wonderful lady monograms them and I coordinate the tying and binding of them.  I had a hand in helping with 8 out of the 9 in some way, whether it be tying or binding or sometimes both.  While it's a fun project, my fingers were numb for a couple of weeks from pulling the needle through the layers.  I'm just glad they are done and will be presented this weekend.

Monday, May 13, 2013

You Are Going to FLIP for This New Series!

Flip This Pattern
Ready for a fun, new series?  Well this one will have you flipping for joy, because not only will you get to see 12 great patterns "in action", but you'll get to meet some amazing women who will be doing the sewing/competing. Plus there is sew along competition and prizes thrown into the mix. The lovely sister duo over at Frances Suzanne is hosting it. You'll want to save this one somehow so you won't forget to follow along!  It will kick off in June, so a grab a button and check it out!

Here's the line up...and yes I'm one  of them, but I won't be competing until September and then again in December.
cathgrace | Welcome to the Mouse House | S is for Sewing | Sewing Like Mad | Elegance & Elephants | Call ajaire Little Kids Grow | Daisy Chain Creations | Once Upon a Notion | Handmade Martini | iCandy handmade | you & mie If only they would Nap |  Foster Ramblings | Designs by Sessa | Shaffer Sisters {Jo} | greendoodle | Shaffer Sisters {Al} Siestas & Sewing | mama says sew | Sewing Mama RaeAnna | sewVery | Nap Time Crafters | {lbg studio} Shaffer Sisters {Scary} | Sweeter Than Cupcakes | Once Upon a Sewing Machine | Crafty Cupboard | The Powell Family
And here is the line up of patterns that will be 'flipped'.  See, I told you it's an amazing line up!
E & E Patterns oliver + s StraightGrain Pattern Anthology Figgy's Peek-A-Boo Pattern Shop Shwin Designs Clever Charlotte Violette Field Threads Blank Slate Patterns Heidi & Finn The Cottage MamaE & E Patterns | oliver + s | StraightGrain | Pattern Anthology  Figgy's | Peek-A-Boo Pattern Shop Shwin Designs | Clever Charlotte  Violette Field Threads | Blank Slate Patterns | Heidi & Finn | The Cottage Mama

Wednesday, May 8, 2013

Why I Love Living Where I Do

Even with somewhat of a late start thanks to some unseasonably chilly weather, we are already harvesting.  Not much, just some lettuce, spinach and some of those beauties in the picture, but fresh salads every night is a nice addition to dinner.

Not as much sewing going on now that I'm trying to get the outside stuff in order, so I'll be posting more pictures of my "outside creations".
Coming up this month, my tutorial/guest post for Project Run and Play, a couple of birthday presents for family and brainstorming for the biggest/scariest project yet--a blessing dress (think christening dress) made out of my niece's wedding dress for her little girl. Wish me luck!

Friday, May 3, 2013

It's Time to 'Knock It Off' again!

Elegance & Elephants
Heidi, over at Elegance and Elephants, is hosting a Spring version of 'Knock It Off'. The challenge is to take a piece of children's clothing that is 'high end' and make it yourself for much, much less.
This time around I wanted to go casual.  For the winter, I made a fancy, yet very simple dress.  Last time I went Italian and this time I went French. I also went for shorts and a summery top this time around.  Guess which one costs more.
Here's the outfit I chose:
It's look #17 from Bonpoint and guess how much just the shorts and the shirt would cost you...around $300 according to the exchange rate I looked at for Euros.  That's just plain crazy!
Here's my look:
 My total cost--$5 maybe.
 I bought 2 yards of the fabric for with a 50% off coupon and probably only used 3/4 of a yard.    The shorts I just upcycled from a pair of jeans I got at Goodwill for 99 cents. The buttons were a dollar and I bought the gold colored jeans thread for just under $1 thanks to another 50% off coupon.
 I let Sophia chose the fabric.  I just wanted something light weight to mimic the look of the Bonpoint shirt, but I wanted her to love the shirt so floral it was.
For the neck and arm holes, I just used bias tape made from the fabric. I used the bias tape to make the bow too.
I really like how the shirt turned out! I just used my self drafted pattern for a button up shirt that I've used a ton of times now.  To get the little gathers under the back yolk, I just added 2 inches on the fold (4 inches total) to the back piece.  Then I just did the bias tape instead of a collar and sleeves.  I forgot that I was going to make the shoulder a little wider to make it hang over the shoulder more, other than that it is perfect and she loves it.
So to get this look you can use any button up shirt pattern. Just add the little extra to the back, don't add the collar or sleeves and finish with the bias tape instead.  Very easy and summery.
 The shorts however, turned out kind of funky, but she says they are comfortable and wants to wear them. The pants I used were more of a stretch jean fabric and I wish I would have gone with actual jean material because it turned and twisted a little.  
I simply cut the front from the pants, using a pair of her shorts as a guide. I included part of the zipper and the back I used the seam from the back middle. I also reused the waistband/belt loops. I just picked it off the jeans and cut to length which allows me to use the existing button hole as well.  
For the welt pockets, to remind myself how to do it I followed this tutorial.  There was plenty of fabric in these pants to get the pockets and welts. And I have plenty left over to attempt a pair of baby jeggings for a new niece. One thing about this stretchy fabric was that a thinner welt did not work.  Maybe if I treated it more like a knit it might have, but I would love to try it with actual jean material and see how it looks.

And here is the look:


Tuesday, April 30, 2013

Last Day of KCW

 I finished up this little ensemble.  The polka dot and star onesies were 'printed' with Jaquard fabric dye and stamps. The QTpi is made using the freezer stencil method and the same dye.  The 'As You Wish' was embroidered by a friend.  If I tell you that my nephew's name is Wesley, do you get the reference?
And 2 more pairs of pants made from old t shirts using this tutorial.

LinkWithin

Related Posts Plugin for WordPress, Blogger...